
How does prospecting work?
Prospecting is a map of your territory, not a spreadsheet. Every driveway you might ever quote is a pin, and the colour tells you where it stands: blue for a prospect, amber for a qualified lead, teal for a customer or pending quote.
Drop a pin on any property
Click an empty spot on the map (or find it with the address search) and the Drop a prospect pin panel opens with the address ready to confirm. Save it as a plain prospect, or jump straight ahead with Save & quote or Save & geofence.
Municipal parcels do the measuring
With GIS Parcels on, dropping a pin fetches the property’s official municipal boundary and attaches it automatically as its Property Boundary — real lot lines, no tracing. You’ll see “Parcel boundary found” right in the panel. Turn it off under Settings → Features → Prospecting for townhouses and multi-unit complexes where one parcel spans every unit; the switch applies to everyone on your team.
The property panel holds everything
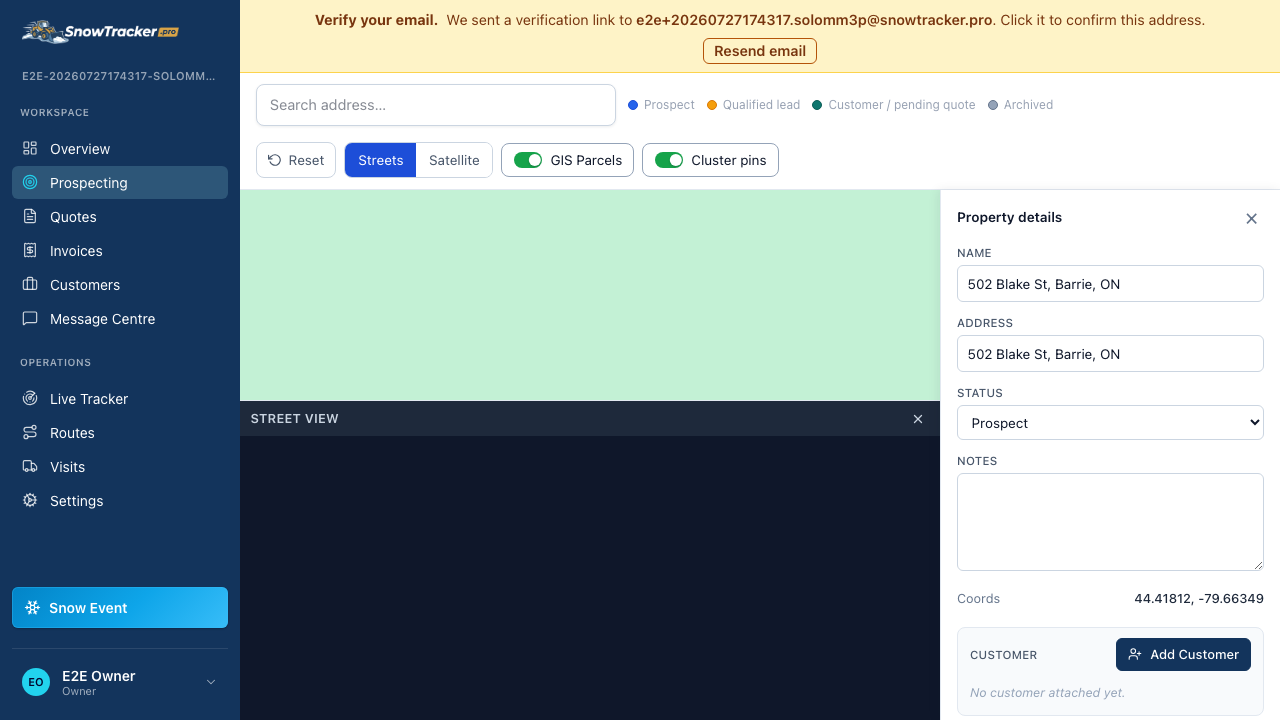
Click any pin and Property details opens: address and notes, geofences with their measured area (draw your own for driveways and lawns — with lines or freehand paint), quotes on this property, and the customer card. Assessed value shows when the municipal data has it.
Quote first or customer first — both work
Add Quote builds a quote on the property before anyone’s attached — pick the size tier and the price flows from your Size Pricing grid. Save quote, then add customer carries you straight into attaching a person (search an existing customer or create one, service address prefilled). Or start from Add Customer and quote after. Either way the pin turns amber the moment a customer is attached.
Every property has a link
Selecting a property puts it in the page URL, so you can paste a link to a teammate and it reopens the same panel, camera on the property, parcel outlined. Leads do the same in reverse — a lead’s Open on map lands here.
The convert step itself is short — see “How do I convert a prospect into a customer?” — and once a quote goes out, “How do I build and send a quote?” picks up the story.